Unlocking LinkedIn's Posting Potential: Part 1 - Obtaining Your API Access Token
Introduction
In the fast-paced world of professional networking, LinkedIn stands as a beacon for career advancement and business connections. While manual posting on the platform has long been the norm, there exists a powerful tool that can revolutionize the way you share updates, articles, and thoughts: the LinkedIn REST API.
Prerequisites
Postman
Familiarity with Postman, a popular API development and testing tool, will be advantageous for seamlessly interacting with LinkedIn’s REST API endpoints.
LinkedIn Account
An active LinkedIn account is essential for accessing LinkedIn’s API and publishing posts on the platform. Ensure that your account is in good standing and adheres to LinkedIn’s terms of service.
Technical Proficiency
While this guide aims to simplify the process, a foundational understanding of web technologies, HTTP methods, and RESTful principles will facilitate your journey in leveraging LinkedIn’s REST API effectively.
Definitions
Before we embark on our journey, let’s take a moment to get familiar with some key terms that will be instrumental in understanding the process :)
OAuth
OAuth stands for “Open Authorization” and is a protocol used for secure authentication and authorization. In simpler terms, it’s like having a digital key that allows one application to access your data on another application, without needing to share your password.
Authentication Token
An authentication token is a piece of data generated by the server upon successful authentication of a user. It serves as a unique identifier for the user’s session and is often used to grant access to protected resources. Think of it as a virtual entry pass that allows you to access specific areas within an application without having to constantly re-enter your credentials.
Authorization Code Flow
Authorization Code Flow is a method used by OAuth 2.0 for obtaining access tokens, typically in web-based applications. In this flow, the client application redirects the user to the authorization server, where they authenticate and authorize the application. Once authorized, the server returns an authorization code to the client, which is then exchanged for an access token. It’s like going through a series of checkpoints to finally get the access pass to enter a secured area.
REST API
LinkedIn’s REST API provides developers and tech-savvy users with a programmatic way to interact with the platform. By leveraging REST (Representational State Transfer) principles, the API offers a streamlined approach to accessing LinkedIn’s features, including posting updates.
Now that we have a basic understanding of these terms, let’s dive into the process of crafting and publishing LinkedIn posts using REST API.
How Does Authorization Code Flow Work?
- Configure your application in the Developer Portal to obtain Client ID and Client Secret.
- Your application directs the browser to LinkedIn’s OAuth 2.0 authorization page where the member authenticates.
- After authentication, LinkedIn’s authorization server passes an authorization code to your application.
- Your application sends this code to LinkedIn and LinkedIn returns an access token.
- Your application uses this token to make API calls on behalf of the member.
")
Steps to get the access token
Create an app on LinkedIn
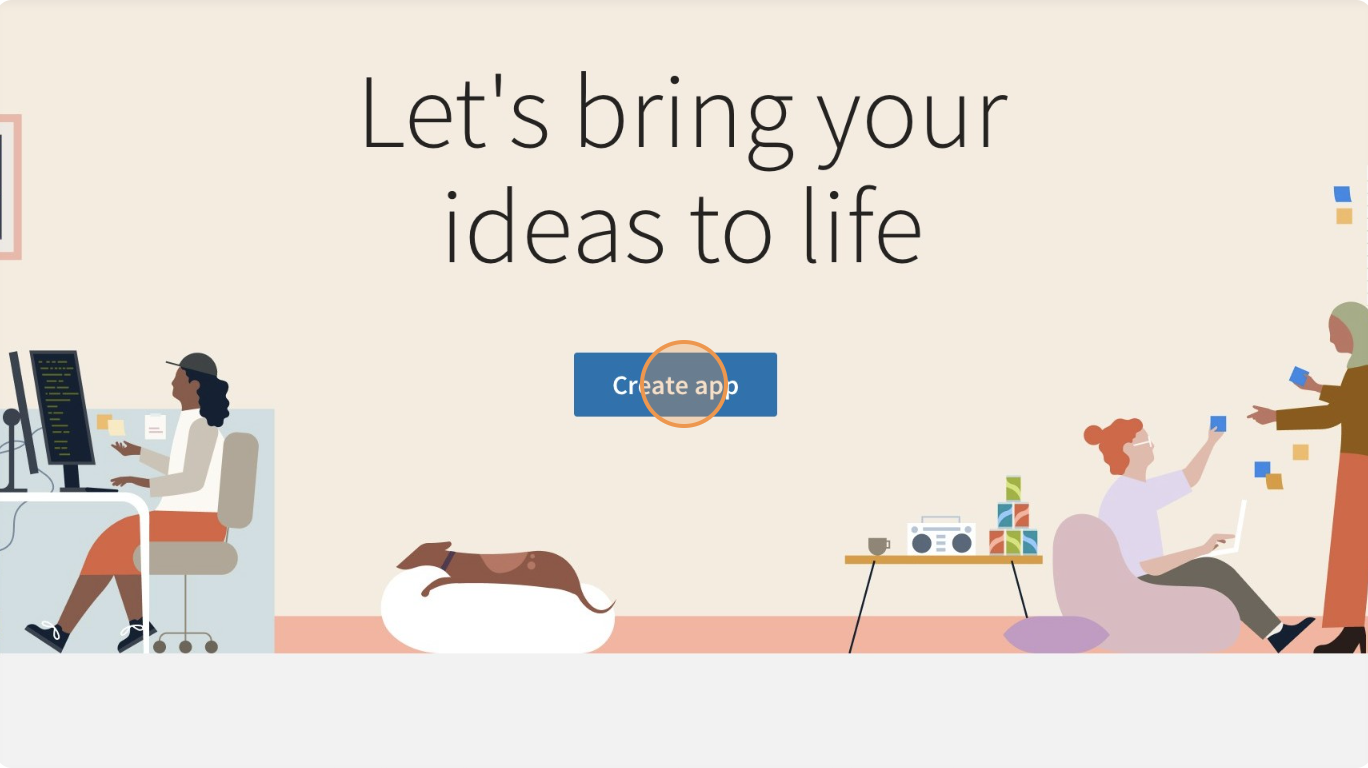
- Sign in to the LinkedIn developer portal.
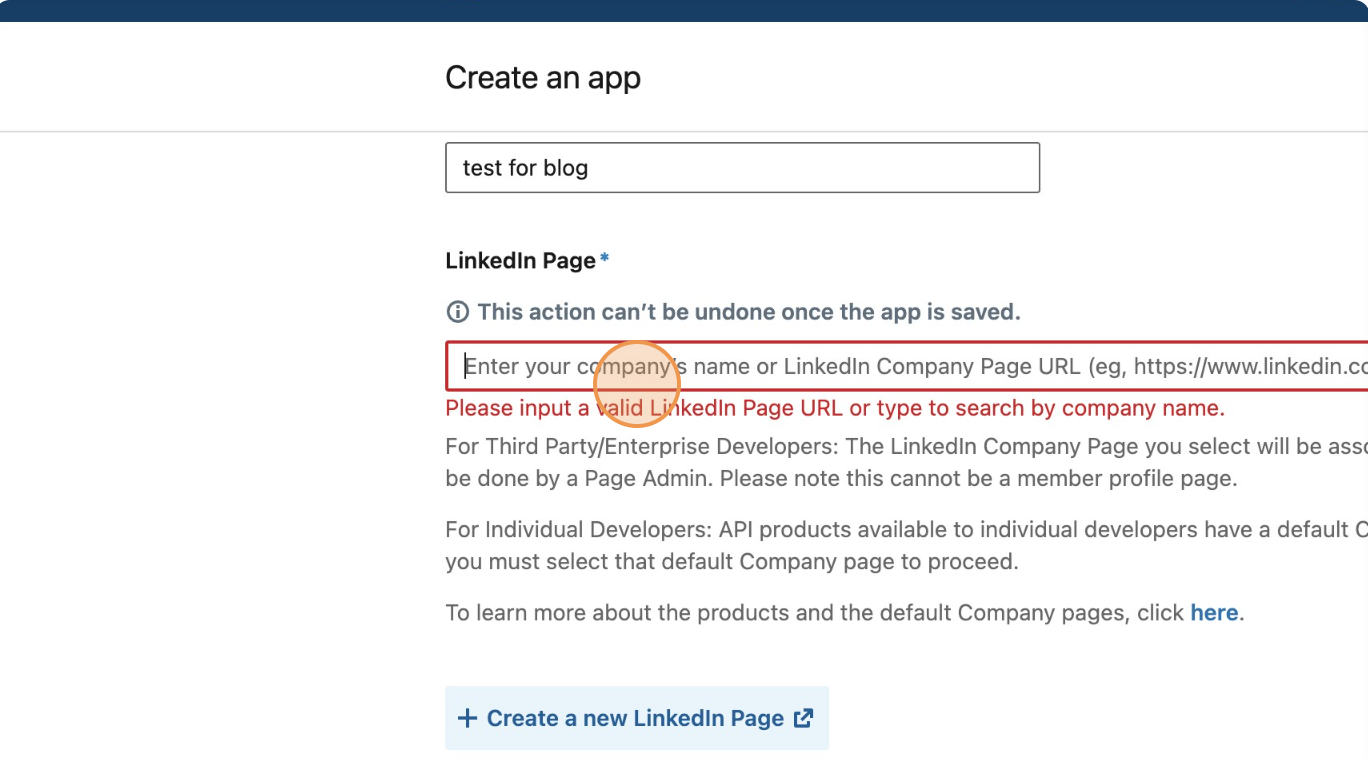
- Click “Create app” to create a new app.
- Click the “App name” field.

- Type your app name, it can be anything
- You will need to associate your app with a company page. If you don’t have any pages, create one.
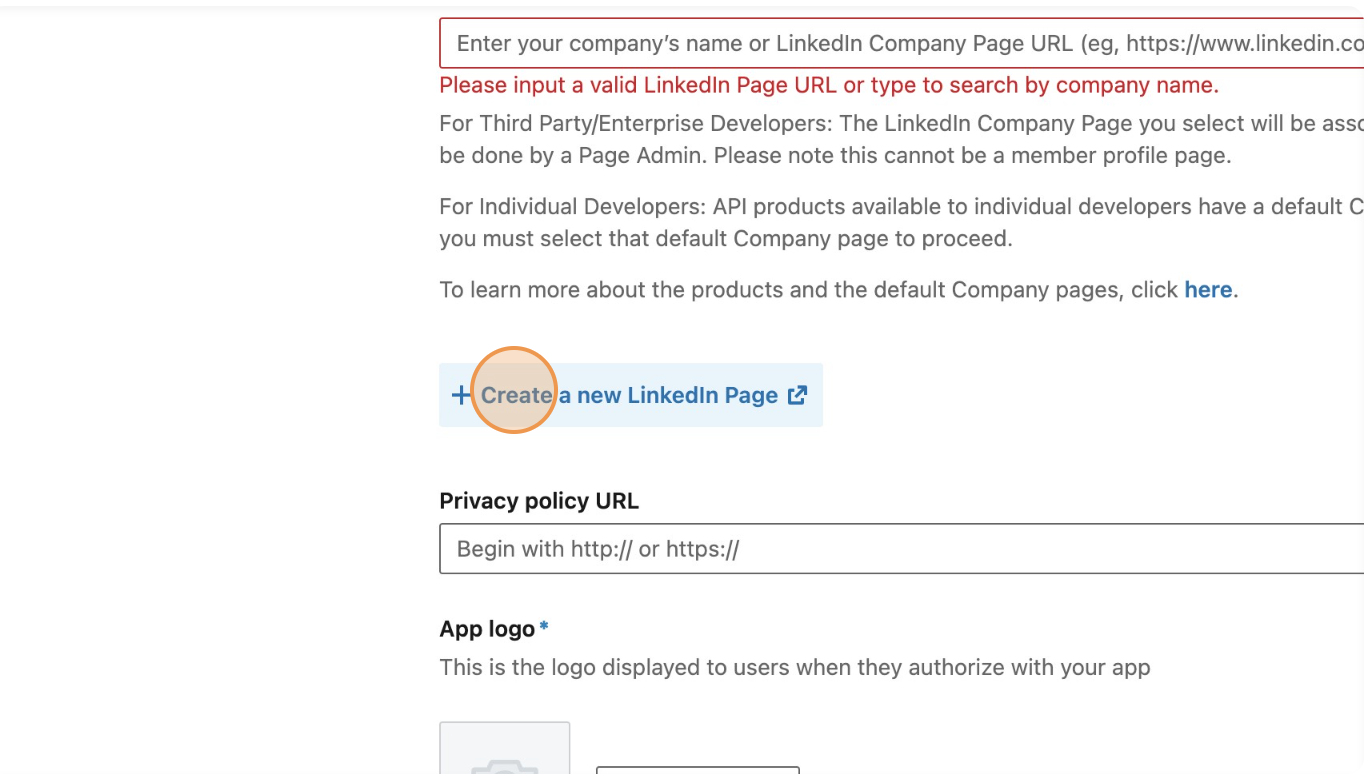
- Click the “LinkedIn Page” field and Type your company/page name. on the LinkedIn Page
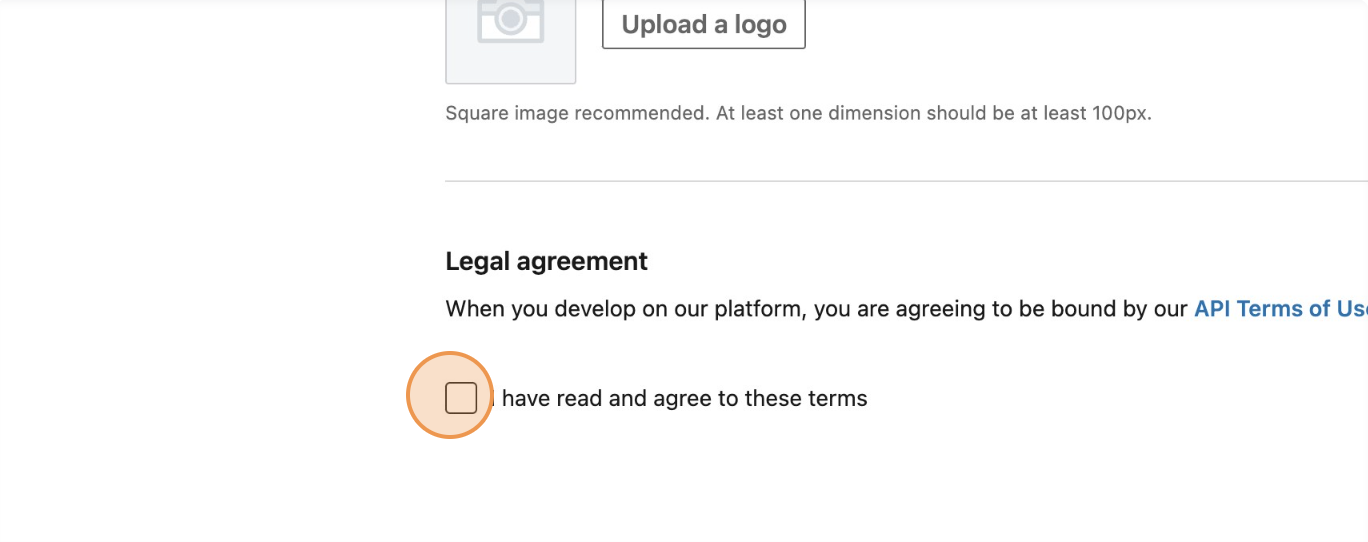
- Click “I have read and agree to these terms”
- Click “Create app”

- Request App Verification From the Company Page: go to the Settings tab and press the “Verify” button to receive a verification link. Open this link if you’re the company’s page administrator or send it to the administrator(s) of the company page you previously selected. When you/the administrator opens the link, you/they will be prompted to confirm their responsibility for your app. If you/they confirm, you will receive a notification that your app has been verified and you can continue with other settings.

Request Access to Features
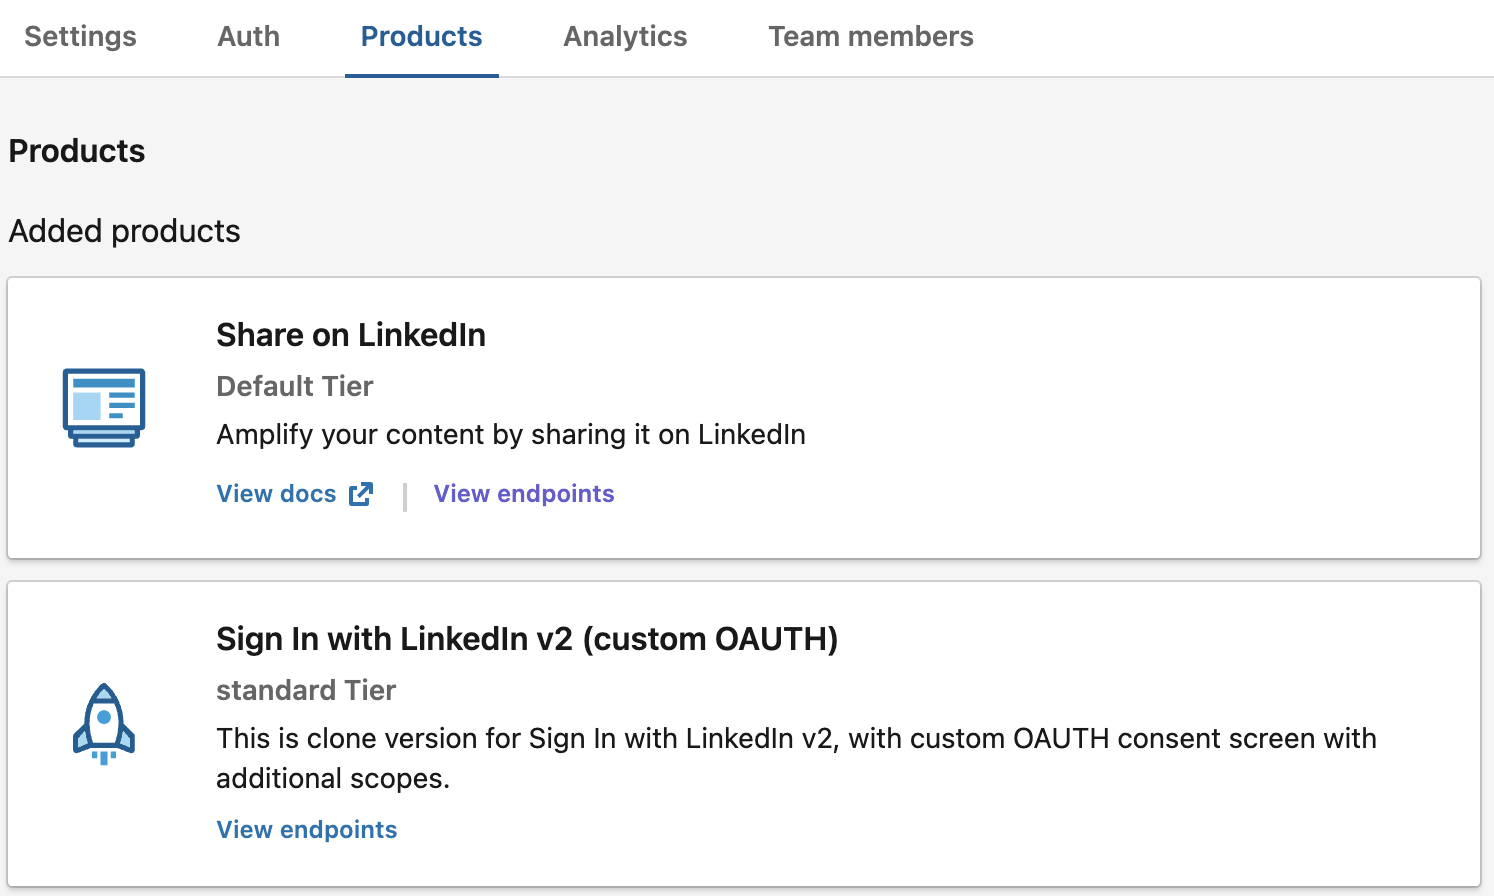
- Go to the Products tab, Do you see “Share on LinkedIn” and “Sign In with LinkedIn v2 (custom OAUTH)”
- The review process for your application may take some time, and it is not uncommon to experience a few rejections before it is ultimately approved. (Mine was instant)
- Review the authorization process for your application
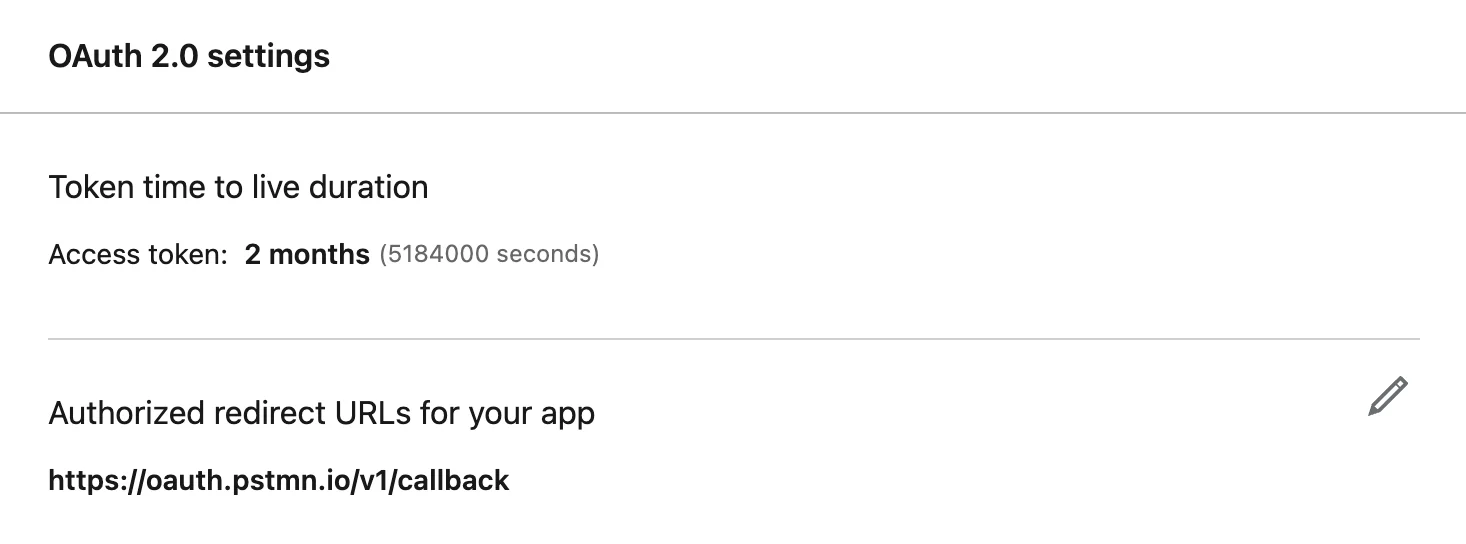
- Go to the Auth tab, and scroll down. You should see a screen similar to the one below
- Now, locate the section called OAuth 2.0 settings. You need to edit this Authorized redirect URL for your app to https://oauth.pstmn.io/v1/callback like the image below.
- Now, Take note of the client ID and client secret (displayed in the Application credentials section)
- Go to the Products tab, Do you see “Share on LinkedIn” and “Sign In with LinkedIn v2 (custom OAUTH)”
Generate Access Token Using Postman
- Open Postman
- Create a new Collection
- Go to the Authorization tab
- The type Should be OAuth2.0
- Add auth data to Request Headers
- Scroll Down to Configure New Token section and add a token name
- Change Grant type to Authorization code
- check Authorize using a browser
- Auth URL should be https://www.linkedin.com/oauth/v2/authorization
- Access Token URL should be https://www.linkedin.com/oauth/v2/accessToken
- Fill client id and client secret
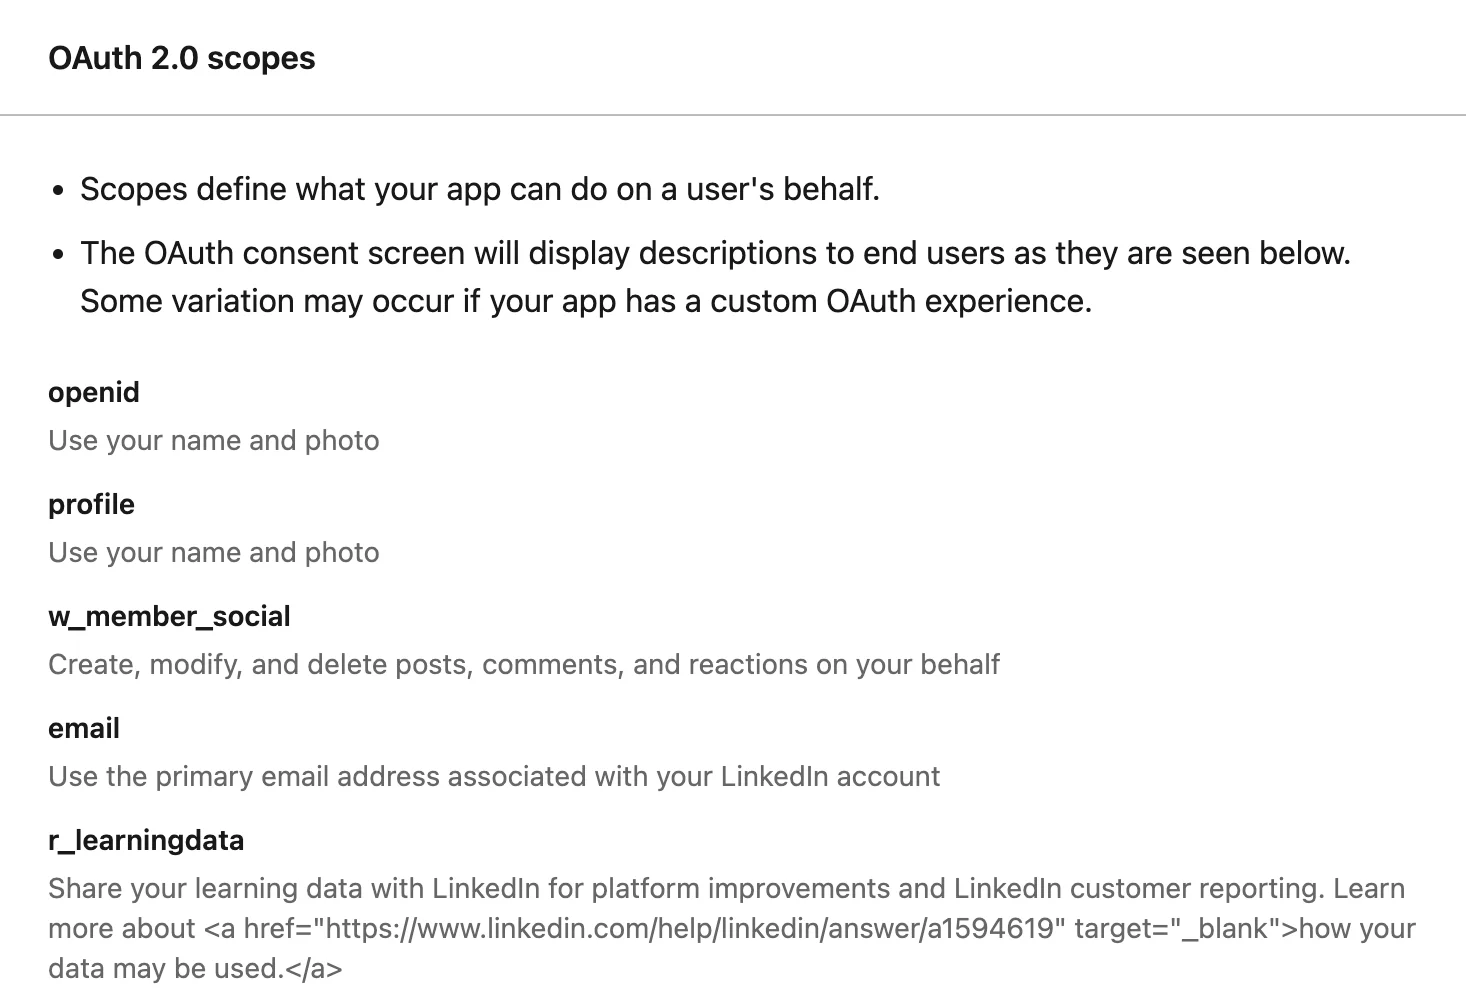
- Scopes: profile email w_member_social openid
- State: some random string
- Client Authentication: Send Client credentials in the body
- Click on Generate New Access Token, this should pop up a new window and if you configure everything correctly it should generate an access token and copy the access token for part 2.
Conclusion
In this first part of our series, we’ve laid the foundation for communicating with the LinkedIn API. We’ve simplified complex concepts, provided basic definitions, and outlined the necessary steps to obtain the access token.
If you encounter any challenges or have questions about the process, don’t hesitate to reach out. I’m here to assist you every step of the way.
Now that we’ve successfully obtained the access token, the hard part is behind us. Take a moment to celebrate your accomplishment, perhaps with a well-deserved break. When you’re ready, we’ll dive into the next steps with renewed energy and confidence.